
DeepSeek Harness:插件运行机制探索
介绍 DeepSeek Harness,以及其核心的插件机制和代码实现
0 前言
上个月 DeepSeek 发布了 DeepSeek Harness 这个 AI Agent 框架,之前忙保研来不及捣鼓这个东西,九月忙得差不多了,正好趁着 DeepSeek 降价来研究一下。
1 环境配置
直接参考 DeepSeek Harness 官方文档,如果只是想用 Web UI,直接
npx @deepseek-ai/dsh web即可,想要更大的自由度,则从源码安装
git clone https://github.com/deepseek-ai/deepseek-harness.git
cd deepseek-harness
pnpm install
pnpm run build
pnpm dsh web
非常简单。
2 基础使用
DeepSeek Harness 作为一个基础框架,提供了一些基本的预设,可以通过 --profile 来指定
| Profile | 用途 | 大致组成 |
|---|---|---|
web | 网页交互模式,普通用户最容易直接使用 | base + web-app |
headless | 一次性 CLI Agent 任务,适合脚本/自动化 | base + headless |
sdk | 完整 SDK 模式,给 Python/TS 等程序调用 | base + sdk-app |
sdk-minimal | 极简 SDK 模式,只保留很少的 Agent 能力 | 独立配置,不使用 base |
acp | ACP 协议模式,给支持 Agent Client Protocol 的客户端连接 | base + acp-app |
3 插件
DeepSeek Harness 自称为 everything-is-a-plugin,其本质上就是由插件组装出来的 Agent Harness,为开发者提供了极高的自由度。
下面研究一下 DeepSeek Harness 中的代码
3.1 read.ts
DeepSeek Harness 官方就提供了一些预设好的 plugin,我们以最基础的阅读文件工具 read.ts 看起。
这个工具整体代码不是特别复杂,200多行代码,其核心入口位于
export function applyReadTool(ctx: Context, caps: ReadToolCaps): void;主要是通过
ctx.tools.register(defineTool({...}))这个入口来注册工具。defineTool定义工具的时候有下列的这些字段:
| 键 | 官方语义 |
|---|---|
name | 工具名,模型调用时使用 |
description | 给模型看的工具说明 |
parameters | 输入参数定义,defineTool 会据此做类型推断和参数校验 |
output | 声明规范输出;通常包含 schema 和 render |
execute | 实际执行函数,返回 output.schema 所声明的 canonical value |
isConcurrencySafe | 声明该工具是否可安全并发执行 |
presentCall | 可选 UI 展示:工具调用发生时怎么显示 |
presentResult | 可选 UI 展示:工具执行结果怎么显示 |
详细的描述在tools.md中。
这里比较难理解的或许就是 output 了,他其实由两部分组成,一部分是 schema,它定义了 execute 实际执行后返回的对象结构,这个同时也是 render 这个函数接受的参数对象结构。output 相当于在 execute 这个函数的后面接一个结构化输出(JS/TS Object)到自然语言(字符串)的一个处理器。比如 read 工具的 execute 可能返回:
{
  path: "/a.ts",
  offset: 10,
  lines: [
    { number: 10, text: "const x = 1" }
  ],
  totalLines: 100
}
经过 output 这部分处理后,会产生类似:
<path>/a.ts</path>
<type>file</type>
<content>
10: const x = 1
</content>
这样的结果。当然,如果 execute 因为某些原因没有输出schema规定的结构,就会产生报错。
3.2 调用 read 工具
下面以一个实例来观察read工具如何被调用,这里假设我们已经根据Deepseek Harness的指导完成了环境的基本配置并且能使用web ui
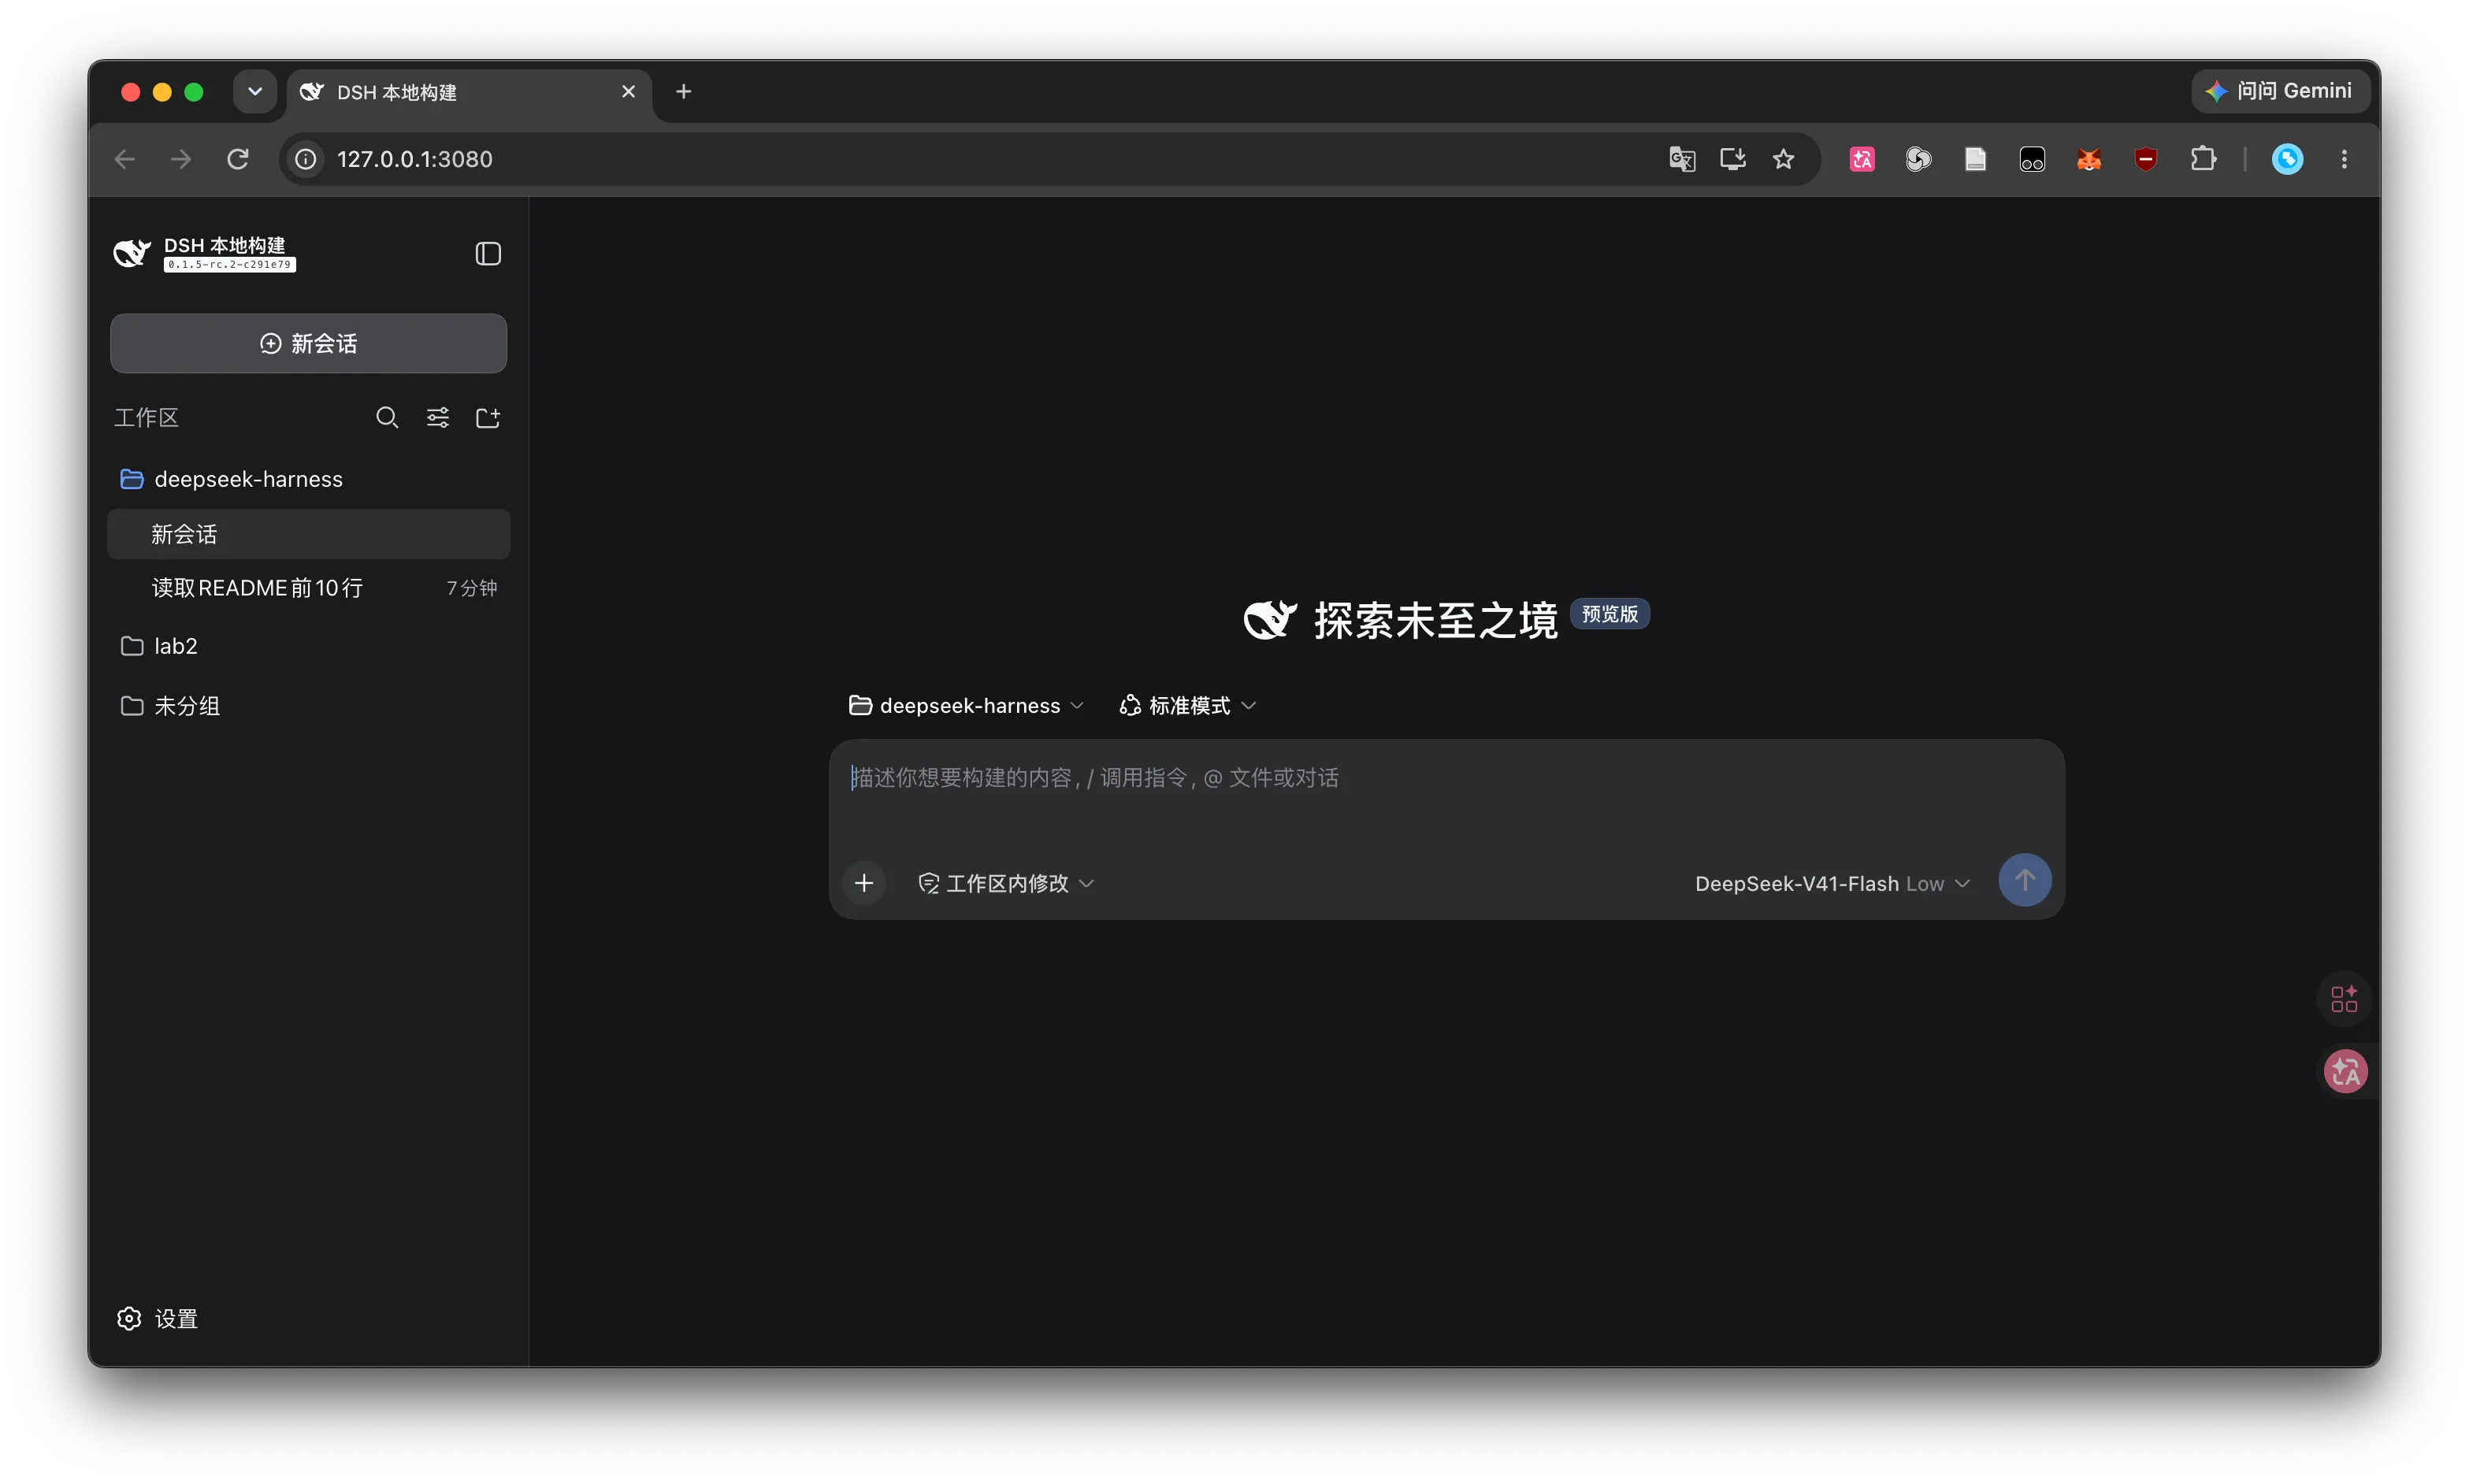
我们用一个非常简单的 “读取 README.md 的前10行并输出“ 这个任务,来测试一下 read 工具的调用,输入一段要求读取前十行的提示词:
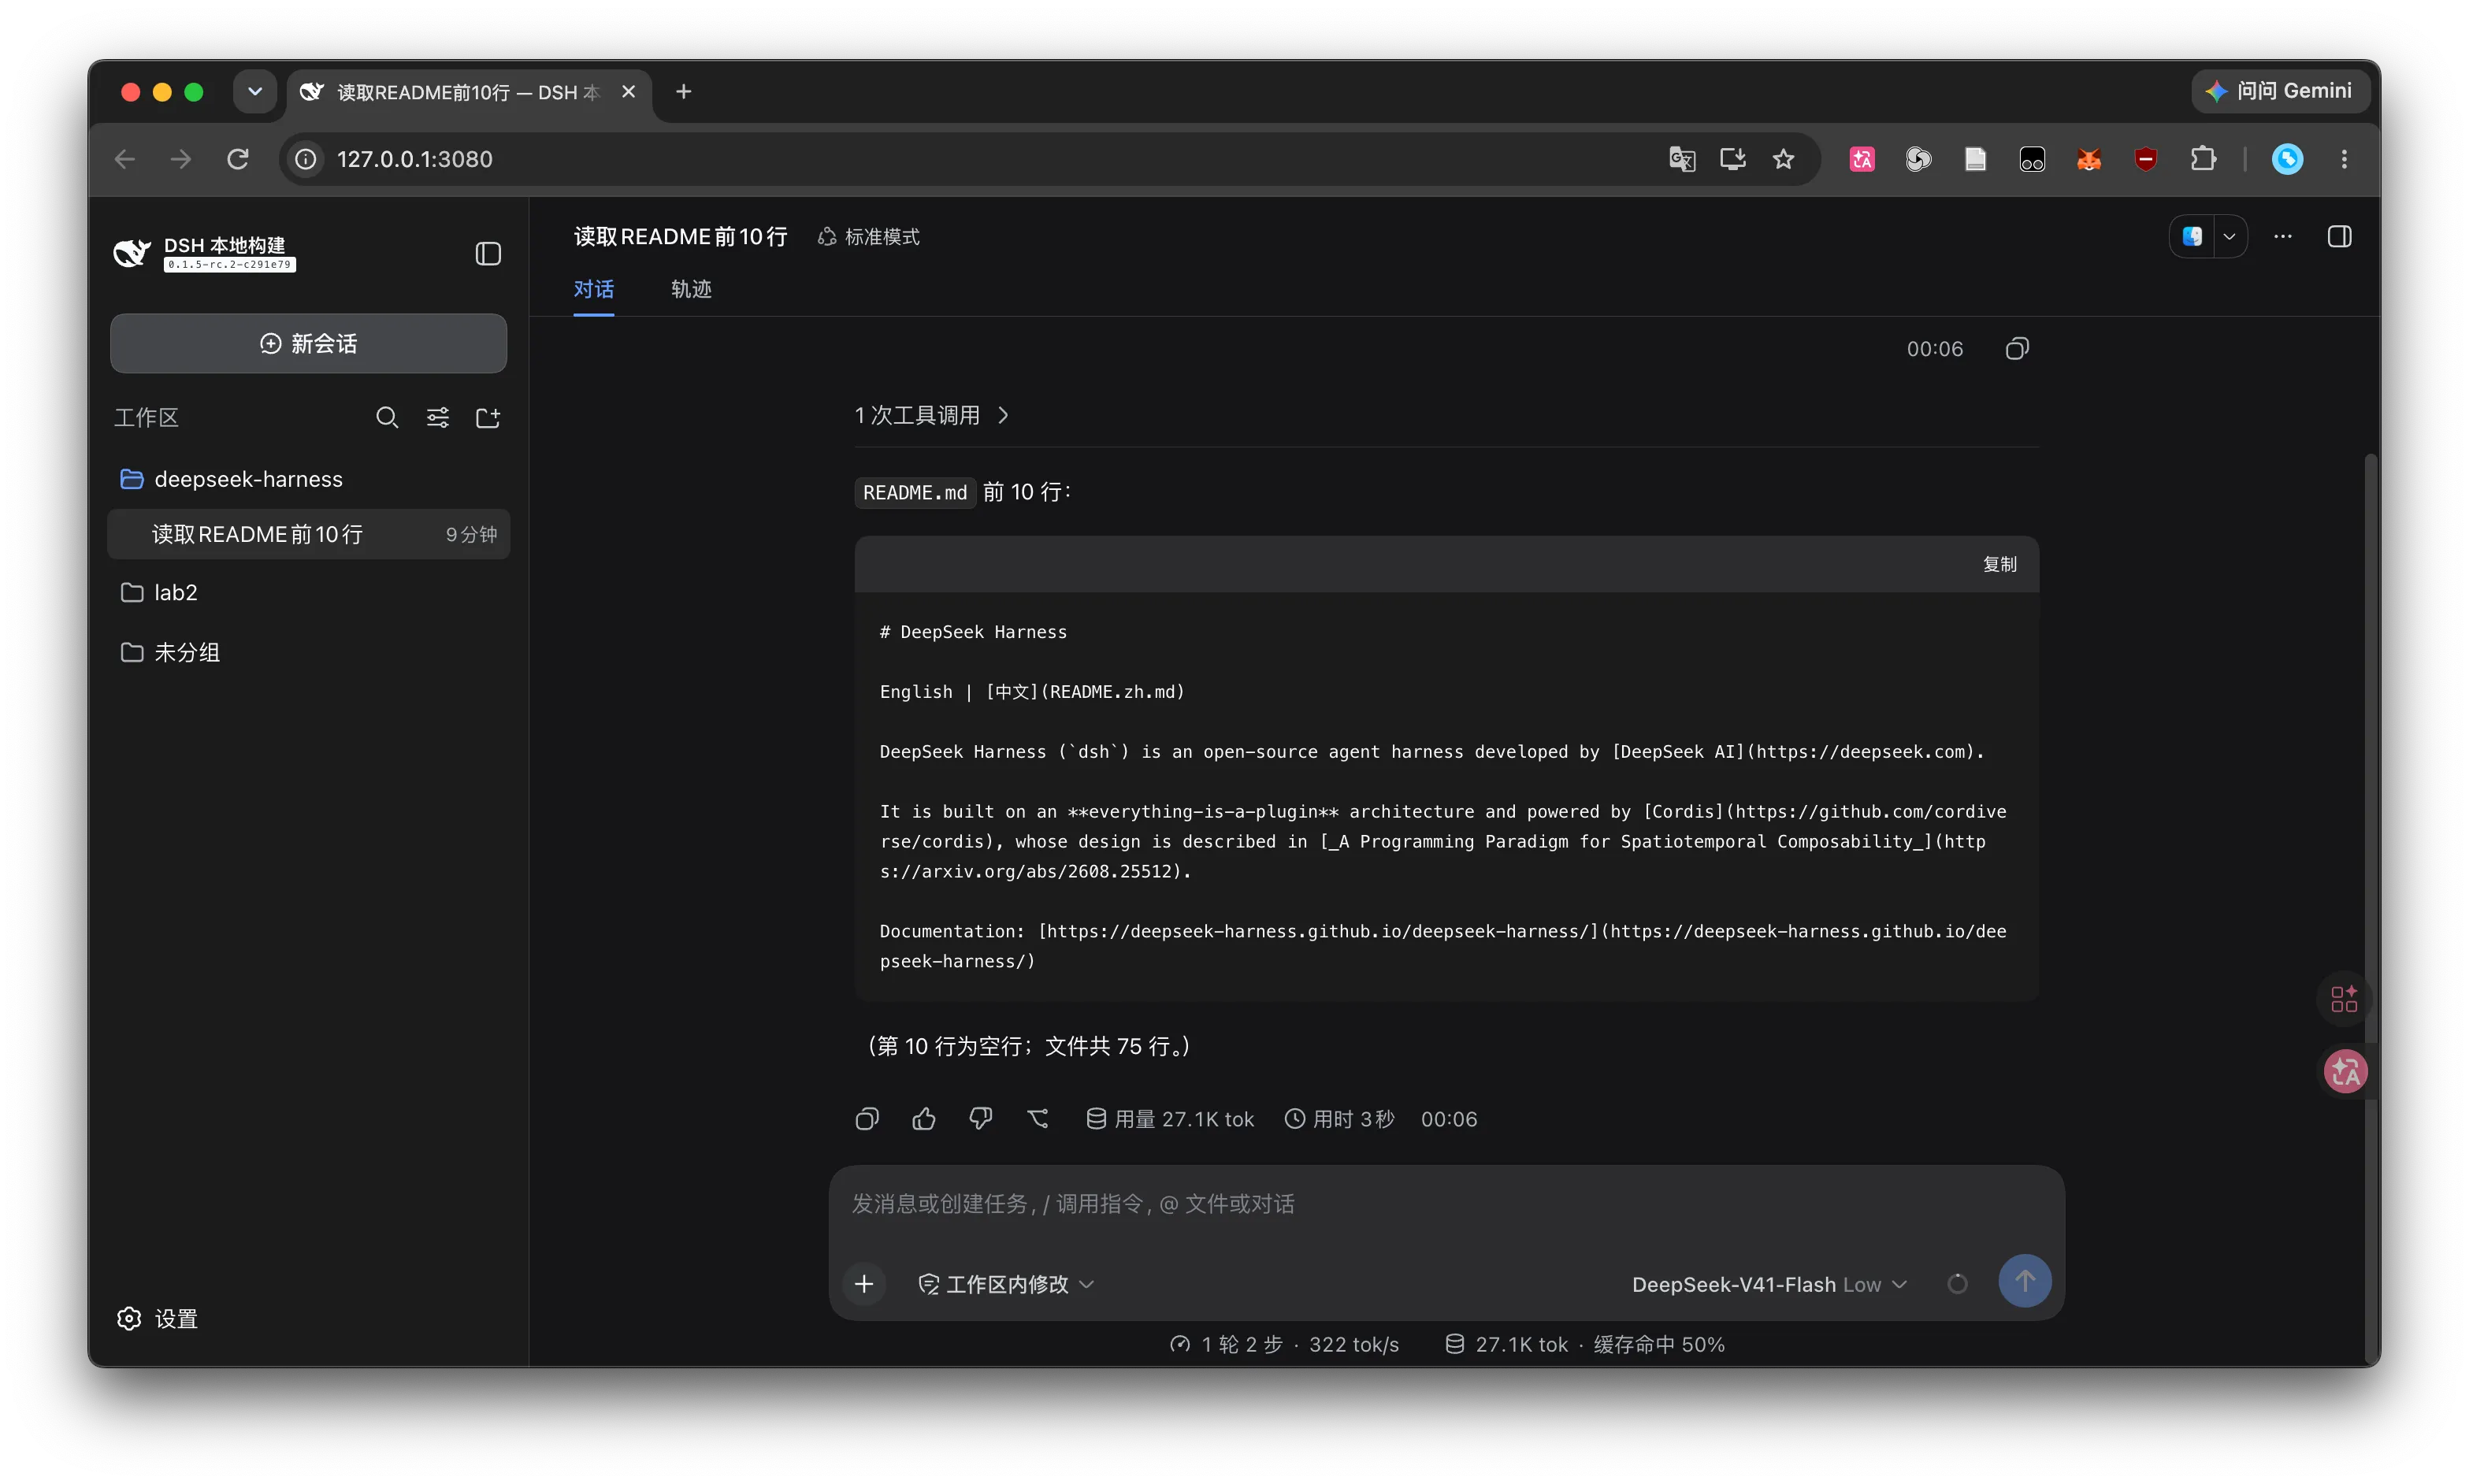
可以看到,deepseek忠实地按照我们的指令完成了任务。
那么我们怎么确定,这里的内容是用了 read 工具,还是调用了其他工具,还是deepseek幻觉产生的呢?事实上,deepseek harness的web ui profile提供了一个很好用的功能让我们查看模型调用工具,处理提示词的完整流程。在标题下方的标签栏选择 “轨迹”,可以看到一个非常类似浏览器中的开发者工具的控制台,这就是默认加载的 dsh-client-ui-trajectory。这个地方的时间轴分成了输入-模型-工具三列,输入即我们的提示词(包括系统提示词等),模型是deepseek的生成过程,工具则是我们的模型调用工具的记录,我们选中某一段即可看到某次调用的详细信息:
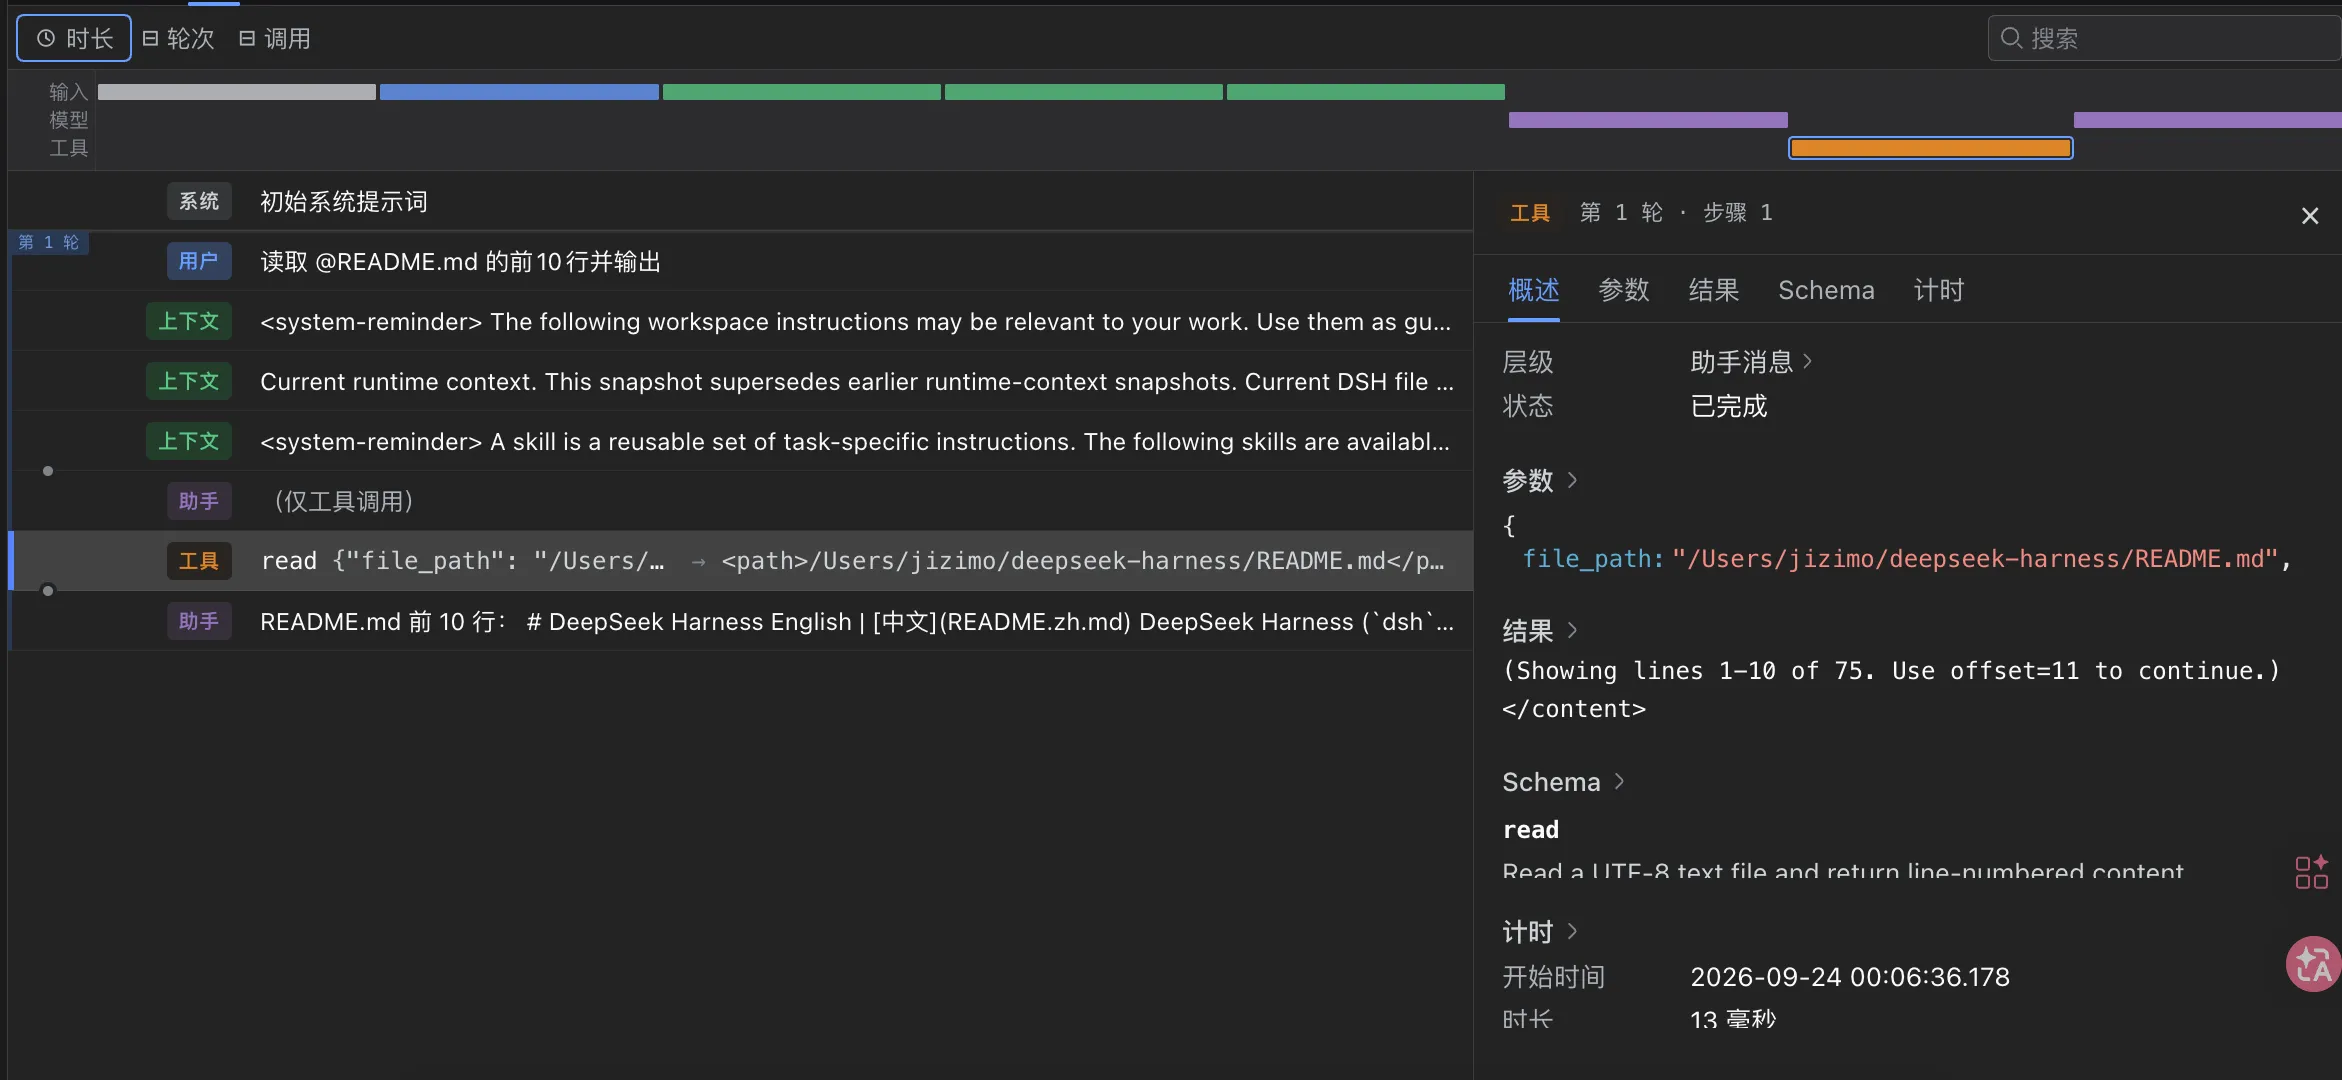
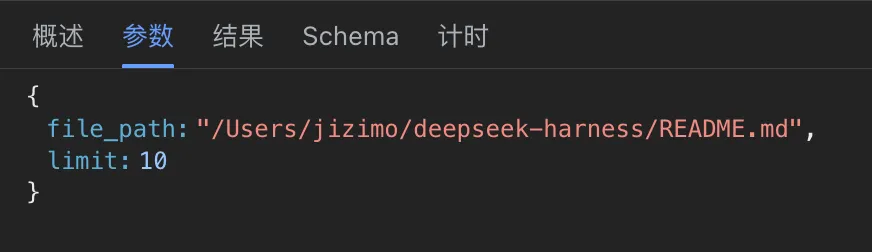
这里我们可以看到,deepseek确实是调用了read工具来完成这里的读取任务。如果阅读过 read.ts 这里的源代码,我们就能知道,这个工具的参数被定义为:
    parameters: {
      file_path: { type: 'string', required: true, description: 'Path to read, resolved by the filesystem backend.' },
      offset: { type: 'number', description: '1-based first line to return. Defaults to 1.' },
      limit: { type: 'number', description: `Maximum number of lines to return. Defaults to ${caps.limit}.` },
    },
切到参数一栏,可以看到和这里的参数能够对应上:
接下来看工具调用的结果,我这里的结果是这样的:
<path>/Users/jizimo/deepseek-harness/README.md</path>
<type>file</type>
<content>
1: # DeepSeek Harness
2:
3: English | [中文](README.zh.md)
4:
5: DeepSeek Harness (`dsh`) is an open-source agent harness developed by [DeepSeek AI](https://deepseek.com).
6:
7: It is built on an **everything-is-a-plugin** architecture and powered by [Cordis](https://github.com/cordiverse/cordis), whose design is described in [_A Programming Paradigm for Spatiotemporal Composability_](https://arxiv.org/abs/2608.25512).
8:
9: Documentation: [https://deepseek-harness.github.io/deepseek-harness/](https://deepseek-harness.github.io/deepseek-harness/)
10:

(Showing lines 1-10 of 75. Use offset=11 to continue.)
</content>
可以看出来,这里的结果看起来和 execute 返回的 outcome 对象差不多,但是又似乎不太一样:
    async execute(args, exec) {
      const input = parseReadArgs(args, caps.limit)
      // One stat: absence observation OR type check + size routing + present version.
      // A concurrent write can only make a later guarded mutation fail stale and require reread.
      const { target, info } = await resolveRegularReadTarget(ctx, exec, input.filePath)

      // Stream when the file is large OR size is unknown, so a size-less backend
      // never buffers an arbitrarily large file.
      const chunks = info.size === undefined || info.size >= caps.streamMinSize
        ? await ctx.fs.streamText(target, exec.signal)
        : [await ctx.fs.readText(target, exec.signal)]
      const window = await buildWindow(
        chunks,
        { offset: input.offset, limit: input.limit, maxLineLength: caps.maxLineLength, maxBytes: caps.maxBytes },
        target.displayPath,
      )

      const outcome = {
        path: target.displayPath,
        offset: input.offset,
        lines: window.lines,
        totalLines: window.totalLines,
      }
      // Record the present observation (a no-op when no policy plugin listens). The
      // read already succeeded; an fs/observed listener is contractually a
      // synchronous, side-effect-only recorder.
      ctx.emit('fs/observed', target, { kind: 'present', version: info.version }, exec)
      return outcome
    },
输出中的各个标签都能和 outcome 中的字段对应起来,但是为什么不直接以对象形式展示出来呢?另外,<content> 标签内的 (Showing lines 1-10 of 75. Use offset=11 to continue.) 又是从何而来?这就是我们之前提到的 render 函数发挥作用的结果了
      render: (args, value) => {
        const input = parseReadArgs(args, caps.limit)
        const endLine = value.lines.at(-1)?.number ?? Math.max(0, value.offset - 1)
        const truncatedByBytes = value.lines.length < input.limit && endLine < value.totalLines
        return [{
          type: 'text',
          text: formatReadOutput(value.path, {
            offset: value.offset,
            lines: value.lines,
            totalLines: value.totalLines,
            ...truncatedByBytes ? { truncatedByBytes: true } : {},
          }),
        }]
      },
这里,函数调用的 formatReadOutput 会把 outcome 对象给格式化成我们看到的结果形式。
4 总结
这篇文章大致介绍了一下 DeepSeek Harness 的安装和使用方法。同时我也尝试以一个简单的 read 工具作为切入点,简单分析了 DeepSeek Harness 中的插件系统,如果有不足之处敬请多多指教!